Creating professional designs used to feel like something only skilled graphic designers could achieve. Many beginners struggle with layout, typography, color balance, and overall visual consistency when starting from a blank canvas.
However, with the rise of Canva templates, the design process has become significantly more accessible. Today, anyone, regardless of experience—can create clean, modern, and professional-looking designs in just a few minutes.
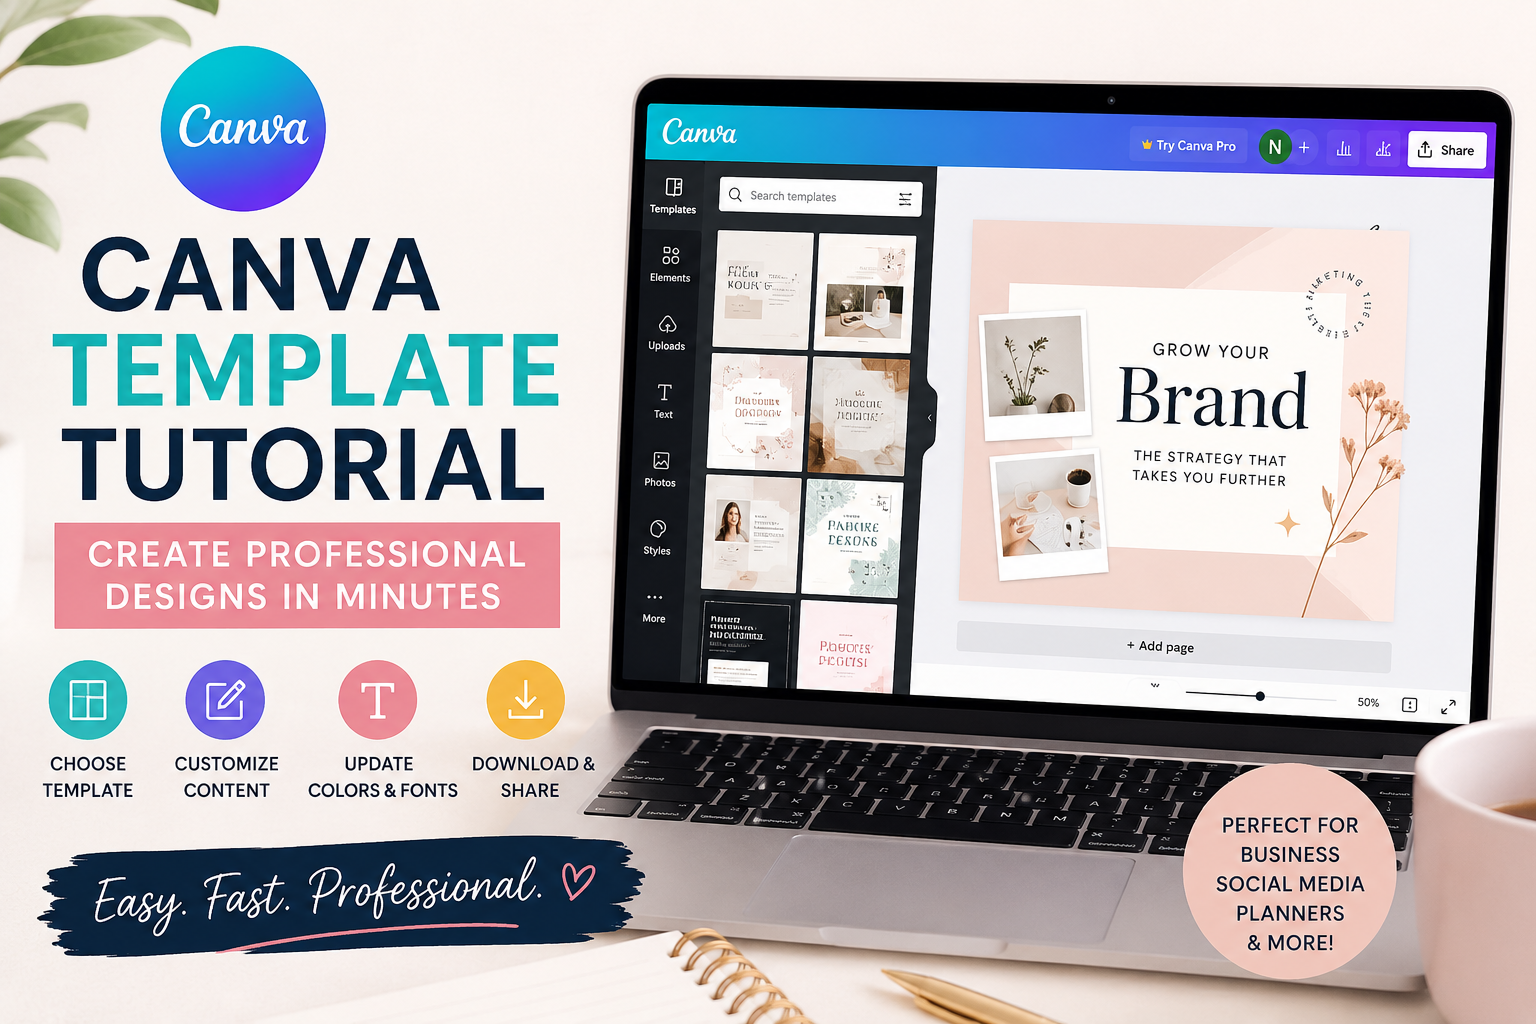
This tutorial will guide you step by step on how to use Canva templates effectively so your designs look polished, intentional, and brand-ready.
What Is a Canva Template?
A Canva template is a pre-designed layout created with professional design principles already applied.
It typically includes:
- Structured layout and alignment
- Font pairing and typography hierarchy
- Color combinations that work well together
- Pre-arranged visual elements and spacing
Instead of building everything from scratch, you simply customize the existing design.
This is what makes Canva templates so powerful, they remove the guesswork from design.
Why Canva Templates Are a Game-Changer
Canva templates are widely used by entrepreneurs, content creators, small businesses, and digital product sellers because they save both time and effort.
Here are the key benefits:
1. Saves Time
You don’t need to spend hours planning layouts or adjusting spacing. The structure is already done for you.
2. Improves Design Consistency
Templates ensure that all your designs follow a consistent visual style, which is essential for branding.
3. Beginner-Friendly
Even without design knowledge, you can still produce professional results.
4. Scalable for Business Use
Templates allow you to create large volumes of content quickly, which is ideal for social media marketing and digital product creation.
Step-by-Step Canva Template Tutorial
Step 1: Choose a High-Quality Template
The first and most important step is selecting the right template.
Instead of choosing based on appearance alone, consider the purpose of your design:
- Business branding: clean, minimal, structured layouts
- Social media posts: bold headlines, strong visuals, readable fonts
- Digital planners or printables: organized grids and functional layouts
- Marketing materials: clear hierarchy and call-to-action focus
A strong template already reflects good design principles, which makes customization easier and more effective.
Step 2: Understand the Structure Before Editing
Before making changes, take a moment to analyze the layout.
- Where is the visual focus point?
- How is spacing used?
- What fonts are being used and why?
This step helps you avoid unnecessary changes that can break the design balance.
Step 3: Customize Content Strategically
Instead of redesigning everything, focus on strategic customization:
- Replace placeholder text with your content
- Insert your brand name or message
- Swap images with relevant visuals
- Adjust colors to match your brand identity
The goal is to preserve structure while personalizing content.
This is what separates beginners from more professional-looking results.
Step 4: Apply Branding Consistently
Brand consistency is what makes designs look professional and recognizable.
To achieve this:
- Use consistent brand colors across all designs
- Stick to a defined font style system
- Maintain similar spacing and layout styles
Even small consistency choices can significantly improve how professional your designs appear.
Step 5: Use Typography Correctly
Typography is one of the most important design elements.
A professional Canva design usually follows this rule:
- 1 primary font (headings)
- 1 secondary font (body text)
- Optional accent font (for emphasis only)
Avoid using multiple decorative fonts, as this can make your design look cluttered and unprofessional.
Step 6: Maintain Visual Balance and White Space
White space is not empty space, it is a design tool.
It helps:
- Improve readability
- Highlight important elements
- Create a clean and modern look
Avoid overcrowding your design with too many elements. Simplicity often leads to better visual impact.
Step 7: Export Your Design Correctly
Once your design is complete, exporting it in the correct format is essential.
- PNG: ideal for social media, websites, and digital use
- JPG: smaller file size for general use
- PDF: best for planners, ebooks, and printables
Choosing the correct format ensures your design maintains its quality and professionalism.
Common Mistakes to Avoid When Using Canva Templates
Many beginners make simple mistakes that reduce the quality of their designs:
- Changing too many elements and breaking the layout
- Using too many fonts or colors
- Ignoring spacing and alignment
- Overcrowding the design with unnecessary visuals
- Not maintaining brand consistency
Avoiding these mistakes will instantly improve your design quality.
How Canva Templates Help You Build a Brand
Canva templates are not just for convenience—they are a powerful branding tool.
They help you:
- Create a consistent visual identity
- Produce content faster for marketing
- Maintain professional quality across platforms
- Build trust with your audience through design consistency
For businesses and digital creators, this can significantly improve brand perception.
Final Thoughts
Using Canva templates is one of the most efficient ways to create professional designs without advanced technical skills.
The key is not to reinvent the design, but to enhance what is already structured well.
When used correctly, Canva templates allow you to:
- Save time
- Improve consistency
- Maintain professionalism
- Scale your creative output
With practice, you will find that creating professional designs becomes not only faster—but also more enjoyable and strategic.
Leave a Reply